Make a Unique DIY Office Organizer with Cork Sheets

Permit the games brainstorm! After yesterday'south announcement, I'one thousand hitting the ground running with today'south DIY office organizer. Considering if at that place is one matter we need to get a handle on around here, information technology'south organization. There are still lots of boxes to unpack and numberless upon bags of craft supplies to get through. Simply I tin't tackle everything at once, then I'm starting small and working my mode upward to the large stuff. Who'due south with me?
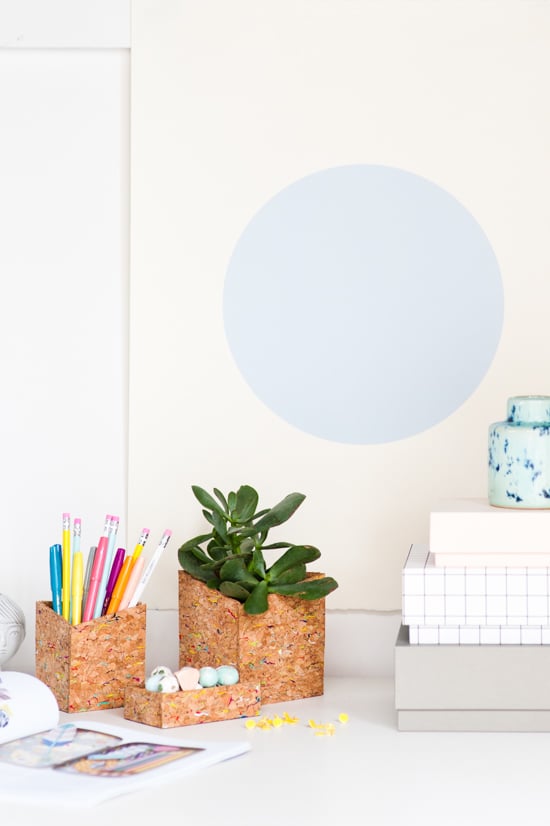
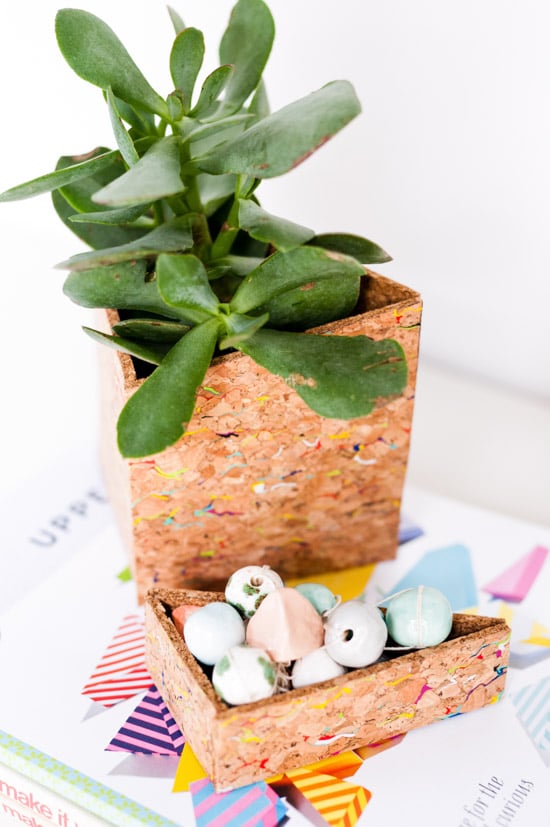
These geometric cork containers can be used for keeping pens, paper clips, and paint brushes tidy. Or pop a plant in one and you lot have a geo planter. You tin can hang these on the wall or keep them on your desk. Lots of options for this one. I keep picturing a ton of these (like 15-20) hanging on the wall with plants inside. What practice you think?

Materials:
– cork sheets (mine have little flecks of color in them, if you like that sort of thing)
– scissors
– hot glue gun
– pen or pencil for mark
– ruler* or straightedge
*You tin can definitely create these cork containers without a ruler if you prefer. I did mine without i. But it's a lot easier to get the measurements right the first time if yous have 1 (which I realized afterward the fact). Just FYI.
How To:
i. Offset by creating a triangle (any size) and marking off the line to cut on, using a ruler or straightedge.
2. Cutting the triangle out with scissors. This will be the bottom of your container.
3. Next, measure and cutting each side of your triangle and cut a rectangle for each side of the triangle from the cork. *Make sure all of the rectangles are the aforementioned peak. These volition be the sides of your container.
If y'all're not using a ruler, simply trace one side of the triangle base to go the correct width, then cut a rectangle that is that width. Repeat this process with the other two sides of the triangle. Again, making certain that all of the sides are the same height.
4. (optional step) To create a container that is lower in the front than it is in the dorsum, determine the severity of the angle you want and, using a straightedge or ruler, mark those lines. I found it easiest, to put the two front pieces together (without glueing), similar how they'll exist when they're connected to the base of operations, and drew an angle on each i that lined up with the other. See photo.
five. Side by side, it's time to glue all of the pieces together. Run a bead of hot glue along all 3 edges of the base triangle and attach the side walls. Then glue the side walls together.
6. (optional pace) If y'all decide to create a hanging wall container, you'll want to cut out a small hole in the back of the container that can rest on a nail in the wall. OR add a wall hook to the back, if you prefer.

Add pens, pencils, or plants and you're good to go. Geometric cork containers for function organisation and beyond.

Photography past Amelia Tatnall
Concept and styling past Brittni Mehlhoff
Remember you lot'll give this DIY a try? How exercise you keep your office supplies organized?
Leave a respond
Source: https://www.papernstitchblog.com/diy-office-organizer/
Post a Comment for "Make a Unique DIY Office Organizer with Cork Sheets"